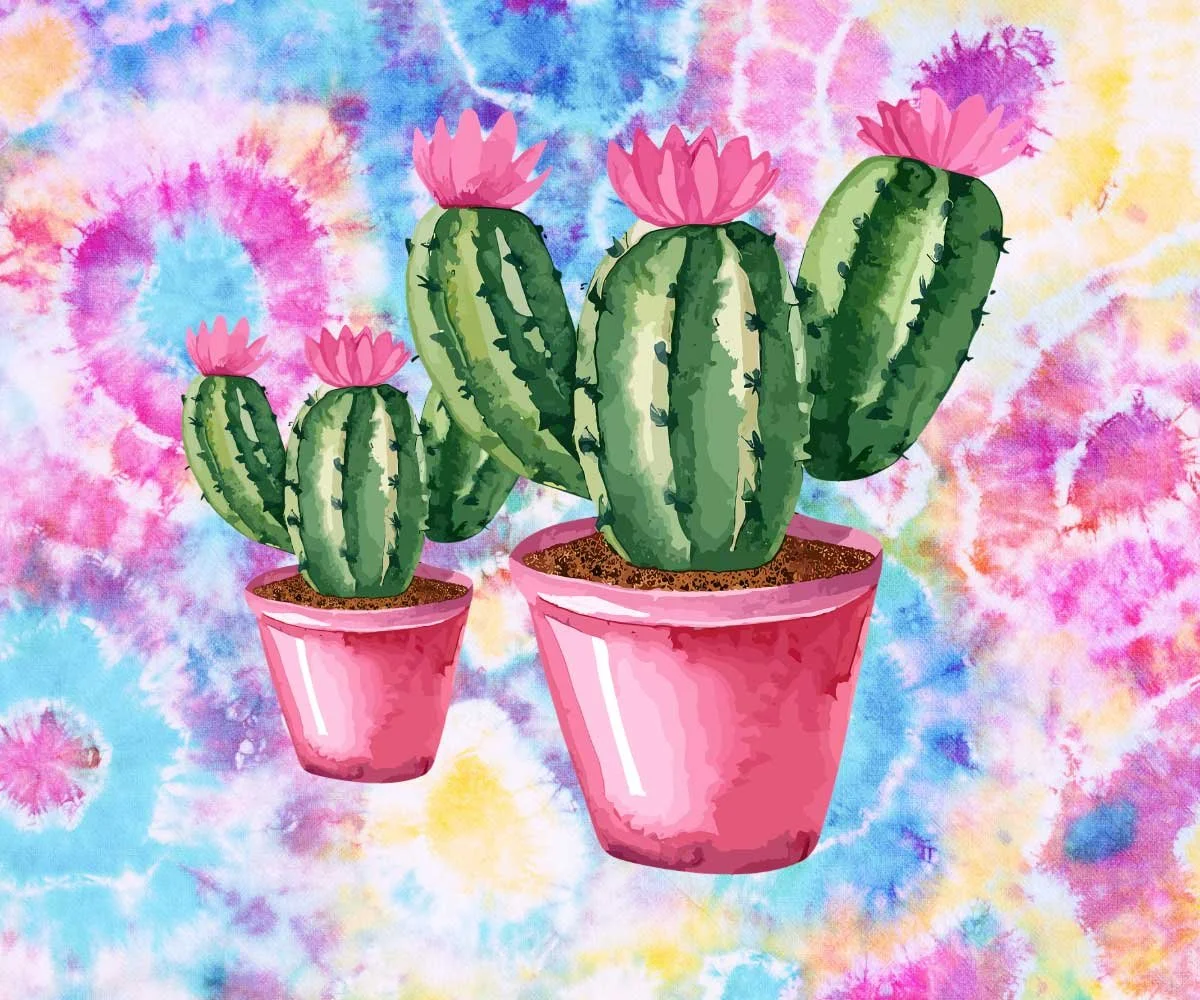
Paint A Cactus With Watercolors
Painting a cactus in a pot with watercolors is a delightful way to blend vibrant colors and nature. This project is perfect for both beginners and experienced artists looking to explore the unique effects of watercolor. The soft, translucent quality of watercolors lends itself beautifully to creating the varied textures of a cactus and the gentle sheen of a pink pot. Whether you’re capturing the whimsical charm of a simple cactus or adding intricate details, this painting exercise offers a great opportunity to experiment with color layering, shading, and brush techniques. In the following guide, you'll find step-by-step instructions to help you create a charming watercolor illustration that brings together the natural beauty of the cactus with the lively hue of its pink pot.
Materials Needed:
Watercolor paints
Watercolor paper (preferably cold-pressed for texture)
Brushes (a variety of sizes, including a small detail brush)
Pencil and eraser
Water and paper towels
Masking Tape
Steps:
1. Draw the Cactus and Pot
Draw Lightly: Start with a light pencil sketch of the cactus and pink pot on your watercolor paper. Position the pot towards the bottom of the page, with the cactus sitting inside it.
Cactus Shape: Draw the outline of the cactus, including its main body and any arms or spines. It can be a simple shape like an oval or more complex with multiple segments. In our reference, we have some pink flowers at the top as well.
Pot Details: Sketch the pot, including any decorative elements if you want.
2. Masking The Edges
Protect Areas: If you want to keep the background crisp and free from any potential paint spills, you can use masking tape to cover the edges of the paper. It will also stabilize the paper so you can paint easily over the drawing.
3. Paint the Pot
Base Layer: Mix your pink paint and apply a light wash to the pot. Use a larger brush for this to cover the area evenly.
Add Depth: Once the base layer dries, you can add darker pinks or even a bit of red to create shadows and depth. Apply this paint where the pot would naturally be shaded.
4. Paint the Cactus
Base Color: Choose a green shade for the cactus. Use a medium brush to apply a light wash of green to the cactus. You might want to use a few different shades of green for variety. Darker green for shadows and some light green for highlighted areas will make your painting very dynamic.
Add Texture: While the base layer is still wet, you can add darker green or even a touch of brown to create texture and the appearance of spines.
Details: Once the previous layer dries, use a fine brush to add details like small spines or texture. You can use a slightly darker green or even add some subtle hues of yellow or blue to give more dimension.
5. Final Touches
Pot Details: If you haven’t done so already, add any final details to the pot, such as patterns or shadows. We kept ours a single shade of pink with a highlight to show some sheen on the pot.
Spines and Shadows: Enhance the cactus with additional spines or shadows to give it a more realistic look.
Background: If you want, you can add a simple background or some additional elements like a small flower or a bit of soil in the pot. In our background, we added an abstract pattern. Feel free to paint your own style and patter
6. Final Steps
Remove Masking Tape: If you used masking tape, carefully remove it once everything is dry.
Touch-Up: Do any final touch-ups needed, such as reinforcing colors or adding small details.
Have fun with your painting! The beauty of watercolors is in their unpredictability and the way they blend, so embrace the process and enjoy creating your colorful cactus painting.

