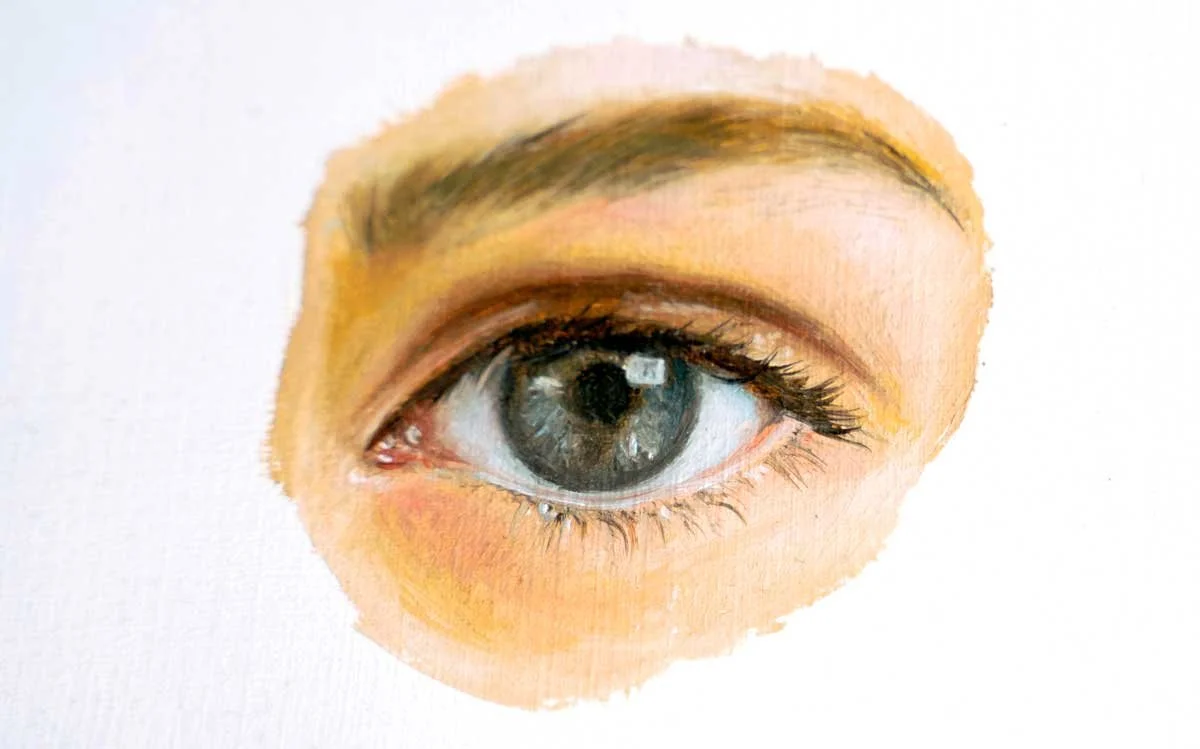
How To Paint An Eye With Acrylic Paints
By following these steps and practicing regularly, you can create a detailed and lifelike acrylic painting of an eye. Painting an eye with acrylic paints can be a daunting process but follow our step-by-step guide and we will help you get started:
Step-by-Step Guide:
1. Drawing the Eye Contours:
Use an HB pencil to draw the basic shapes of the eye on your canvas. Start with the almond shape of the eye, including the iris and pupil. Outline some highlights you would like to have in the pupil. Outline the eyelids and tear duct. This will serve as a base for the painting.
2. First Layer:
Start with the white of the eye and use a flat brush to apply an initial light coat of white acrylic paint. Let it dry completely. Mix skin tones using light red, white, and blue in small quantity for the eyelids and surrounding areas. Apply these base colors with a flat brush, blend as needed.
3. Paint the Iris:
Use a small, round brush to paint the iris. Start with the base color of the iris which is typically a lighter shade; you can choose any natural colors like blue, sea green, and dark brown. Add details like the darker outer ring and any patterns using a fine detail brush. Allow each layer to dry before adding the next to prevent colors from blending unintentionally.
4. Adding Details:
Once the previous layer is completely dry, you can paint the pupil with dark black paint. Ensure it’s centered and proportional to the iris. Paint highlights to the iris using a lighter color, creating a sense of depth and reflection.
5. Paint the Eyelashes and Eyebrows:
Use a fine detail brush to paint individual eyelashes and eyebrows. Start with light strokes to define their shape and direction. Gradually build up darker colors for depth and volume. Take extra care while painting these!
6. Final Touches:
Use white paint to add highlights to the eye, focusing on areas where light reflects off the iris and the wetness of the eye. Shade around the eye with darker colors to create depth and emphasize the contours of the eyelids and iris.
Step back and assess the painting. Add any final details or adjustments to ensure the eye looks realistic and balanced.
Let the painting dry completely before framing or displaying. Voila! You did it!

