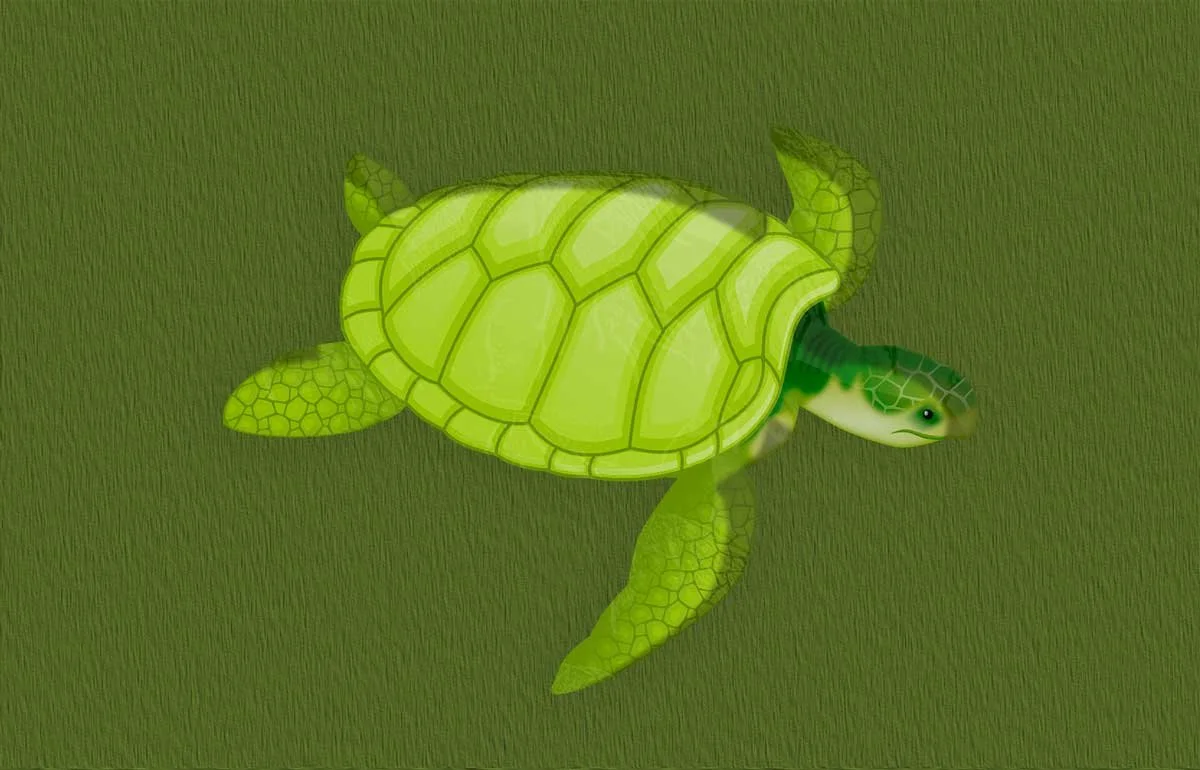
How To Paint A Turtle (For Kids)
Want to keep the kids busy while they have fun this summer? We got your back! We love sharing mini tutorials with you so you never run out of ideas for having fun and being creative. In this tutorial, we show you how to paint a turtle in a simple and easy way. Painting a turtle is a great way for kids to explore their artistic side while learning about these fascinating animals. Enjoy the process and celebrate your child’s creativity!
Materials Needed:
Choose a small canvas easy for kids to paint on.
Acrylic paints or poster paints in various colors for fun.
Take acrylic paint brushes with different sizes. You may need a small detail brush if you want plan to assist your kid.
Get a mixing tray to mix and hold your paints.
Water for rinsing brushes.
A cloth for drying brushes and blotting excess paint.
Simple Steps to Paint a Turtle with Acrylics or Poster Paints:
Step 1: Draw or Trace the Turtle
Start by lightly drawing the outline of a turtle on your canvas using a pencil. This will help your kid in learning about turtles and also help them paint easier. We recommend you use an image reference.
Step 2: Lets Start Painting the Shell
Decide on the colors for the turtle's shell. You can use a combination of greens, browns, or you can simplify by using colours as they are.
Use a medium brush to apply a first layer of your chosen shell color onto the turtle's shell area. Before moving on, make sure you let it dry completely.
Once paint is dry, use a small brush to add some dynamic texture. Have fun and dab on darker shades of the same color or slightly different tones to create a textured look for the shell just as how a turtle would have in real life!
Step 3: Let’s Paint the Turtle’s Body Now
For body, you can successfully use greens, browns, or even a lighter shade like naples yellow mixed with brown can work well.
Use a small brush to slowly paint the turtle’s body inside the shell outline you drew. Leave the areas untouched where you want the shell color to show through; this gives a very natural look to the turtle.
Step 4: Adding Eyes, Mouth, and Limbs
Use an extra small brush to add eyes and a mouth to your turtle painting. You can use black or another dark color for these details. You can have fun with how you want to paint the eyes; you can make them caricature style or more realistic.
Next, paint the turtle’s legs and tail extending from the body. These can be super simple shapes, like ovals or rounded rectangles.
Step 5: Finally, Add Background and Highlights
Add highlights to the shell and body using lighter shades of your chosen colors. Dont forget the highlight in the eyes. Adding highlights helps to create depth and make your turtle look more realistic.
If you’d like, paint a simple background around your turtle. A blue sky or green grass can complement your turtle painting very well.
Let your painting dry, it is always important to allow your painting to dry completely before displaying or framing it. Once dry, you can seal the painting with a varnish or hand as is.

